In today’s article you’ll find out how to maximize photography from your trip, while still getting to spend time with the people you traveled there with. [ExpertPhotography is supported by readers. Product links on ExpertPhotography are referral links. If you use one of these and buy something, we make a little bit of money. Need more info? See how it all works here.]
The Top 10 Tips For Vacation Photography
Continue reading to learn how to get the best photographs from your vacation.
10. Find the Best Spots of Your Destination
Even if you’re not planning to do any photography, learning about the location you’re traveling to will enhance your experience. Aim for a plan that keeps you on track with places to visit, but is also loose enough to allow you to go off the beaten path a bit. How are you going to find out about the photos you could be taking?
Local knowledge—Is there a way you can reach out to local photographers before visiting a place? It’s a good idea if you can. Joining Facebook groups for the destination you’re visiting is one possible way of gaining a contact. Friends—Do you have a friend who has already visited the place? They may be able to give you some tips. Photography websites—If you’re looking to be independent on your trip, you can still get an idea of the photos taken at your destination. Websites like 500px, Flickr, or Instagram allow you to search photos by location. Tourism websites—Tourism websites will show you where the famous places to visit are. You can often use this to plan some of the photos you’re going to take.
9. Don’t Overpack
The right selection of equipment and a good travel bag to carry it are vital for a photography trip. Like your trip, your bag should allow a split between photography and other things. You’ll want enough additional space in your bag to carry items like water and sun cream. Which photography equipment should also go in your bag then?
Camera body—A decent camera body. The trend is towards the smaller and lighter weight mirrorless cameras. As size and weight matters when you travel, the mirrorless camera is a good option. Wide-angle lens—This is vital for so many photos you’ll take during your holiday. Photos of your family in front of famous locations? Big epic landscape photos? Interior architecture photography with impact? These all require a good quality wide angle lens. Prime lens for portraits – It’s great to have a lens with a large aperture. You can use it for portraits. Ideal for low light and street photography, the optimum focal length will be 50mm. Tripod—You’ll need this to get top level landscape photos, and in the evening or indoors. Tripods will also allow you to take group photos with yourself in the frame. Today, many manufacturers make lightweight and compact tripods that are perfect for traveling. Strobe—A few modifiers to go with it like the Rogue Flashbender 2, and ideally radio triggers and receivers for remote flash. You can really get amazing portrait results. And your food photography will be massively enhanced.
8. Wake Up Early to Avoid the Crowds
There are a lot of good reasons for waking up early for holiday photography. This is your holiday as well. So get the balance right so you don’t need a holiday after your holiday! Here are the reasons you’ll be up at the crack of dawn for the best holiday photography.
Sunrise—There are some location that are best photographed at sunrise. You’ll likely need to wake up at least an hour before sunrise. And it’s best to plan where you’ll photograph from the afternoon before. Local life—Even though you’ll be a tourist yourself, you’ll want to avoid photographing other tourists in your holiday travel photography. To do this, waking up early while other tourists are still sleeping is a great idea. At this time of day, you’ll get a real idea of how local life is lived, which is great for street photography! Me time—Perhaps the most compelling reason to get up early is that it guarantees you some “me time.” You’ll be able to join your family for the rest of the day, having already taken some amazing photos while they were still sleeping.
7. How to Make the Most of Available Light on a Holiday
A lot of holiday photography means you’ll be photographing in imperfect light. That’s because you’ll be following the schedule of your family, not the schedule of a photographer. There may be times where you just happen to be at the right place when the light is perfect, but it’s unlikely to be planned. How often do you think you’ll get to photograph the evening blue hour, when that time overlaps with dinner time? Unless you’re traveling alone or with another photographer, you’ll have to compromise.
Hard light—Most photographers avoid photographing during the middle of the day, mainly to avoid this very strong hard light. Is it possible to work with this type of light? Of course it is, but you may need to adapt your subject matter. You can use this light for strong, high-contrast and low-key street portraits. Even landscapes can work. CPL and GND filters will help here. Photographing into the light—Photographing into the light can be tough. Learn techniques like digital blending, or perhaps try photographing for silhouettes. Low light—Blue hour is the photographer’s choice of low light. When on holiday, you might not get to photograph in this light. Learning to photograph when it’s dark will help. For interior and portrait photos, learn to use a flash and to bounce this off walls or ceilings. Photographing landscapes may prove more difficult. A good tripod and the acceptance of more contrast in your photo will help you get good results.
6. Ideas to Help You Avoid Cliche Holiday Photos
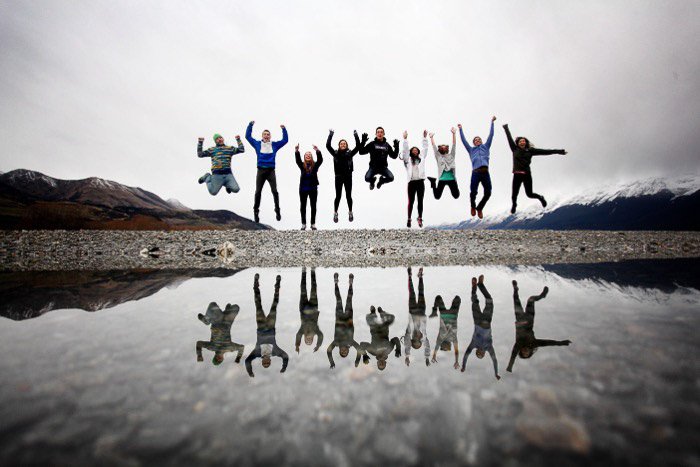
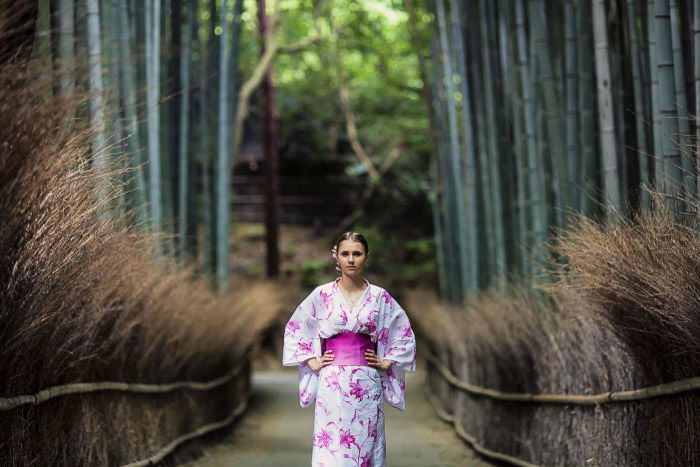
Holiday photos can result in quite a few cliched scenes. The most obvious one of all is standing in front of main tourist attractions, a forced smile, and essentially just recording the fact that you where there. As someone who has probably brought multiple lenses, and a nice camera body with them, you’ll want something more diverse than this. That doesn’t mean to avoid portraits in front of famous places, but be more creative. Don’t be afraid of trying techniques others have used either. Use your own interpretation of that technique.
Jumping photos—These can be a lot of fun, and you’ll get more natural expressions. Forced perspective—Pushing back the leaning tower of Pisa? Holding the top of the Taj Mahal? Try your own forced perspective with a long focal length. Crystal ball—Turn the world upside down and photograph a scene with a different lens objective. Alternative poses—There are plenty of ways to pose beyond the standard line-up. How will you set up a group of people? Will it be the Beatles walk? Silhouettes—This can be an interesting challenge. Just ensure you photograph from a low angle to ensure the full silhouette of the person or object. You will, of course, be photographing into the light.
5. Balance Out Portraits and Landscapes
The majority of people will gravitate to either portrait photography or landscape photography. Look at the holiday photos you’ve taken after day one. Is there a dominant genre in there? If that is the case, make a conscious effort to get a more balanced set of photos. Even if you normally concentrate on one area of vacation photography, challenge yourself to get the whole story. Getting the whole story means a mix of portrait and landscape photos.
4. Include Your Family
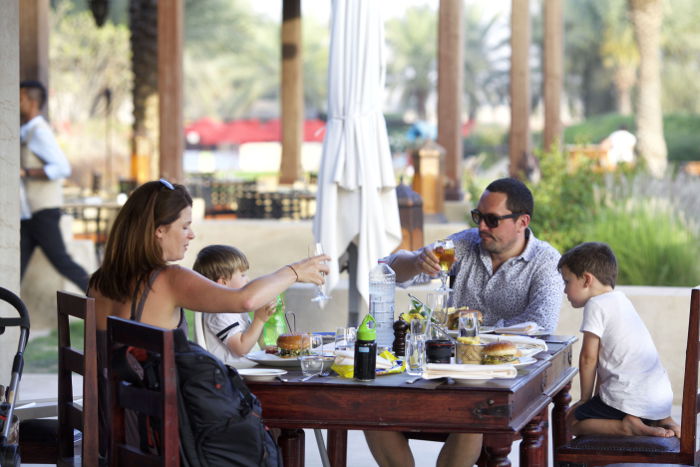
Taking photos of your family, or fellow holiday makers, should be the main focus of your time. It’s great to have had some me time, and perhaps wake up early in the morning while they’re still sleeping. But questions will be asked if they’re not included! See how you can get some great photos of them. You’ve already learned some ideas to get creative with these portrait photos. You’ll also want to get some natural candid photos of them as well. Hone your street photographer instincts and channel this towards photographing your loved ones.
3. Capture the Local Culture Through Food
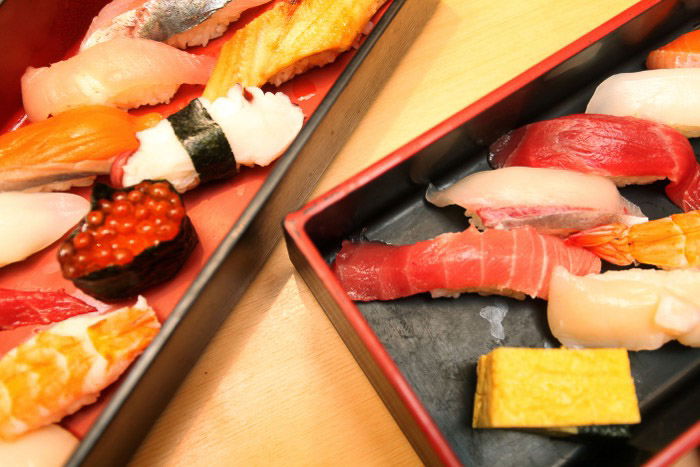
The food you eat is a big part of the trip! It’s going to be as big a part of the local culture as the people in local markets, and the grand architectural masterpieces you’ll photograph. Get some great food holiday photos, and your friends at home will be jealous and hungry when they see them! Remember to respect the restaurant. Some might not like you taking photos. Be quick as well. No one enjoys waiting to eat while you’re composing your shot. When it’s possible to get nice photos though, keep the following in mind.
Natural light—If you can sit next to a window, this type of side light can work nicely for food photography. Strobes—Provided you can use a flash in the restaurant, bounce the flash off the ceiling. If you can use off-camera flash and a soft box, then aim the light on top of the food and slightly to the back. Angle—The angle you take food photos at can vary. The typical photo is at about a 30 degree angle and includes some background. More overhead angles can also be interesting. Background—Keep the background clean by choosing a relatively high aperture. If you’re photographing down onto the food, look for an interesting textured surface.
2. Photograph the Location at Night
One of the main periods of down time you’ll get during a holiday is at night. If you’re on a beach holiday, you may have permanent downtime. But other trips will typically be active during the day. That means that nighttime is a good opportunity to get out and take some photographs.
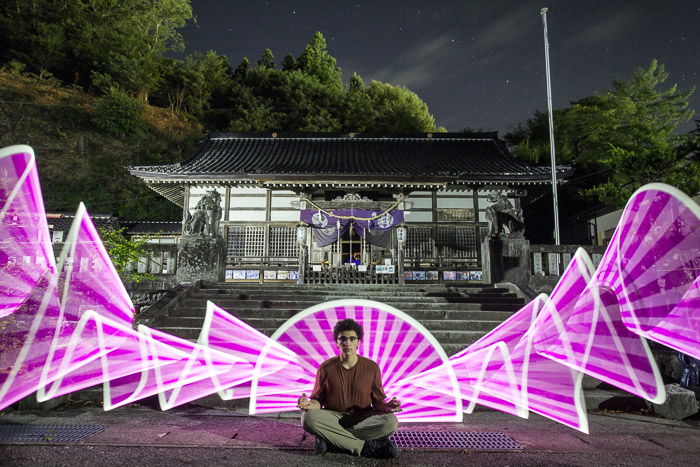
Have fun—Look for fun ways to photograph. Do that and you can persuade your family to join your photography! Use a tripod—A lot of night photography is long exposure. You’ll need a tripod for this. Light painting—A great long exposure technique is light painting. It’s creative, fun, and you can involve your family. Use the light—Get out and use ambient light for street photography. Alternatively, experiment with your own light and use a flash.
1. Go Through Your Images Everyday to Self-Critique
It’s tempting to take many photos during your trip. This spray and pray approach isn’t really a useful way of getting the best photos though. And it can slow your improvement as a photographer. Instead it’s best to review your work on a daily basis. Use a critical eye, and decide which photos really worked. Select the best photos you’ve taken that day. At the end of the trip, edit your selection by choosing the best of the best. Look to keep this selection to around 20 or 30 images.
Conclusion
Vacation photography can be a lot of fun. This guide will help you prepare for your trip. Once you’re on the trip, it will help you get the balance right between pure travel photography, and time spent photographing with your family. Now all that’s left to do is book those flights, and then make those memories! Check out our Next Stop: Travel Photography ebook to make the most out of your travels!


