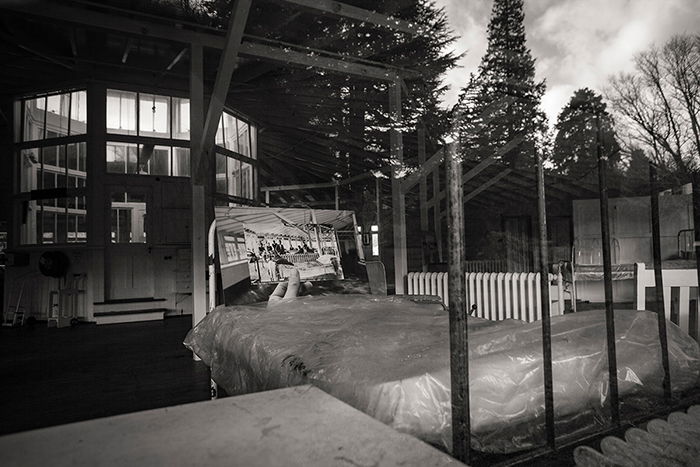
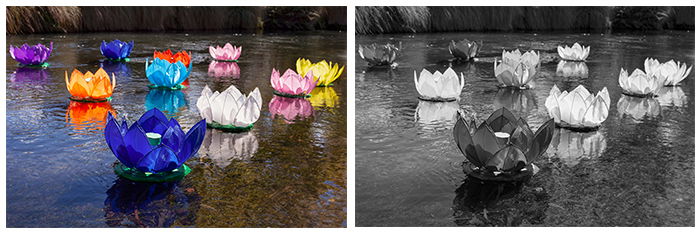
Black and white photo editing can add a touch of nostalgia or elegance to any picture. It can also be used to convey a feeling or mood, or to simplify complex images. In fact, there are all sorts of reasons why you might want to try black and white photo editing. The good news is that it’s not hard to get started. All you need is a photo editor that offers this option, and then you can play around with the settings until you get the look that you want. So why not give it a try? You might be surprised at how much difference it makes!
Black And White Photo Editing: What to Do During the Shoot
Before you convert your photo to black and white, take a couple of giant (figurative) steps back. What’s the weather like? What kind of artificial lighting will be around? How do you want to use the final images? What’s the story you want to tell? These kind of questions will help you decide what gear to take. This includes lenses, reflectors, filters, and tripods.
Showing Emotions Through Black and White Photos
As you click the shutter, get a feel for the emotion and light levels in the moment. This is so you can reflect this in post-production. A soft foggy morning suits subtle adjustments in black and white with a sepia tone added. A modern glass and steel building in the sunlight could handle more post-production. You can increase clarity and contrast to emphasise the lines and shapes. Black and white is brilliant for evoking emotions. Even if you’re not photographing humans or animals.
Black and White Editing In Photoshop and Lightroom
I mix it up a bit when editing my black and white photos. I use both Lightroom and Photoshop. It depends on the layers and effects that I want to experiment with. Use the software and technique that you’re most comfortable with. Lightroom and Adobe Raw will produce excellent results. You don’t need to spend a lot of money to make beautiful black and white photographs.
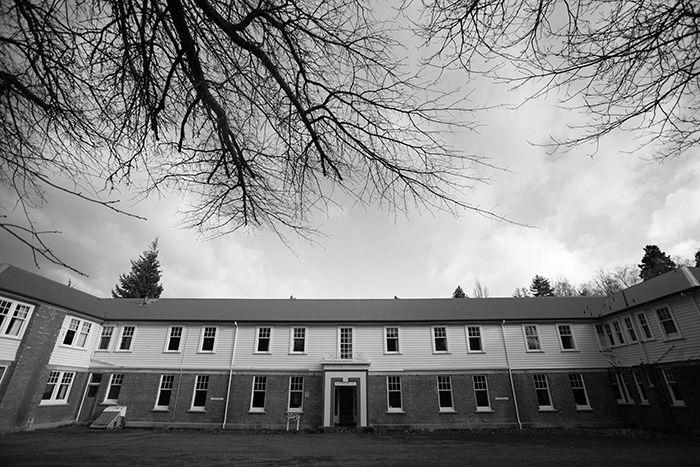
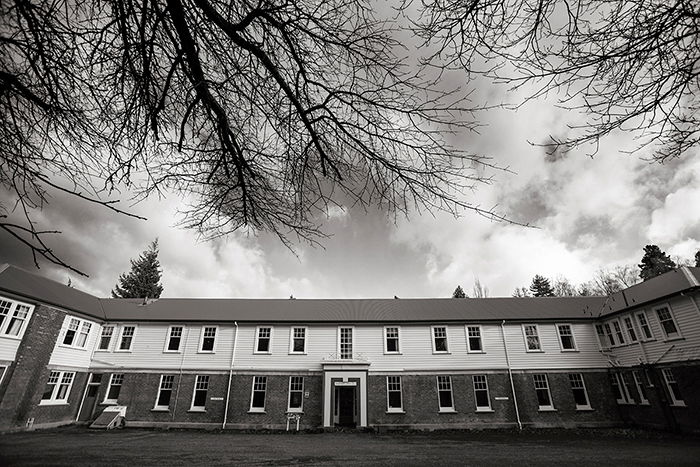
1. Cropping for Composition
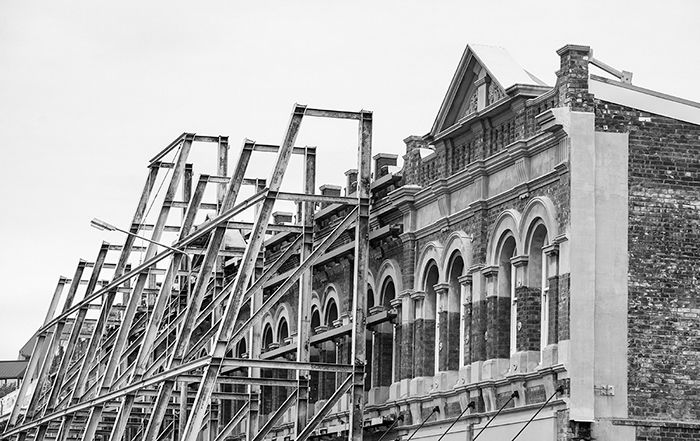
Black and white photography loves everything about leading lines and angles. Without the distraction of color, our eyes are drawn into the shapes in a black and white photo. This is where the responsibility of effective cropping comes into play. Embrace negative space, the rule of thirds and the golden triangle and ratio. Sometimes I create a couple of variations of the same image cropped in a different way. Then I look at them fresh the next day to decide which one I like best.
2. Editing Black and White in Photoshop
The clarity slider is my go-to tool when making a photo black and white. I increase the clarity to emphasise the definition between the grey tones. And to enhance the lines. The contrast tool can also be useful to intensify the blacks and whites. I tend to use this only when the blacks and whites are washed out. I see the contrast and clarity tools often used with great enthusiasm. This results in ‘overcooked’ photographs. Keep it subtle. Use these techniques to enhance your story, not dominate the image.
3. Adjusting Color Sliders for Black And White Photos
Adjusting the color sliders can affect the tones in a black and white photograph. Decreasing the blue is a great technique for darkening a bright sky. Increasing orange and red can even out a skin tone. I usually adjust the color sliders before I apply the dodge or burn tools in Photoshop. Like all the techniques, it’s best to do this in moderation and keep the whole photo in mind. Lightening a shadow on the face by increasing the red slider will also affect the lips. And any other red components. Consider the story you’re telling. Use layers in Photoshop if you need to only adjust the colors in certain parts of the photograph.
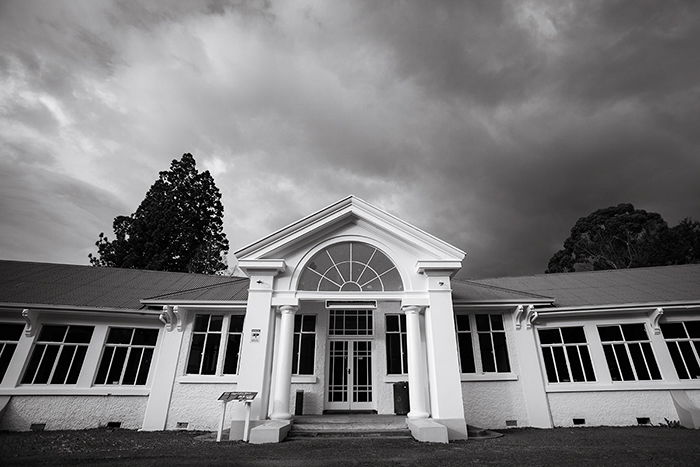
4. How to Make Black and White Shades Stand Out
One of the most important things to know about B&W editing is how to make true blacks and true whites in you photos. Most black and white photos are actually a range of greys. True blacks and whites will draw attention to, and define textures and shapes. I’ve broken this rule a few times – usually when I’ve been portraying landscapes a certain way. In general, it’s a pretty good rule to stick to, and one that you can achieve in Lightroom or Adobe Raw. I prefer to use a selection of tools to get the black and white balance right. This usually means some dehazing and clarity changes. As well as subtle increases or decreases to highlights and shadows or whites and blacks. Relying on only one of these tools can create problems in other parts of the photograph.
Conclusion
You can make black and white photography portraits, landscapes, architectural images, or abstracts. It’s important to understand the post-production editing techniques for black and white photography. Start with getting the basics right as you plan and take the photographs. Then tell your story through an edited black and white photo that looks as though it was effortless.